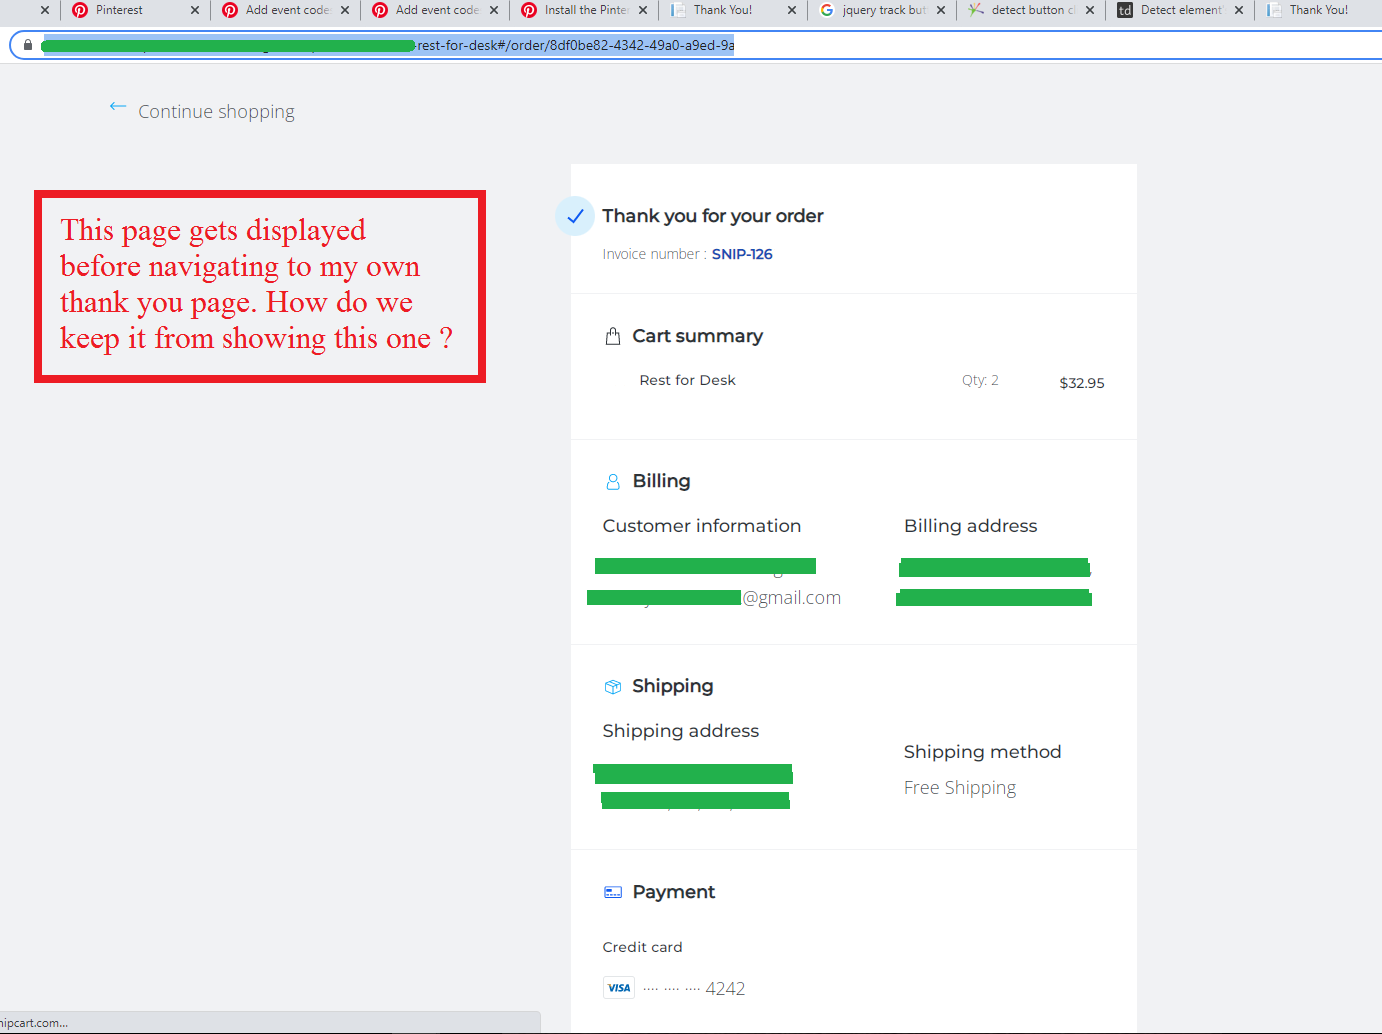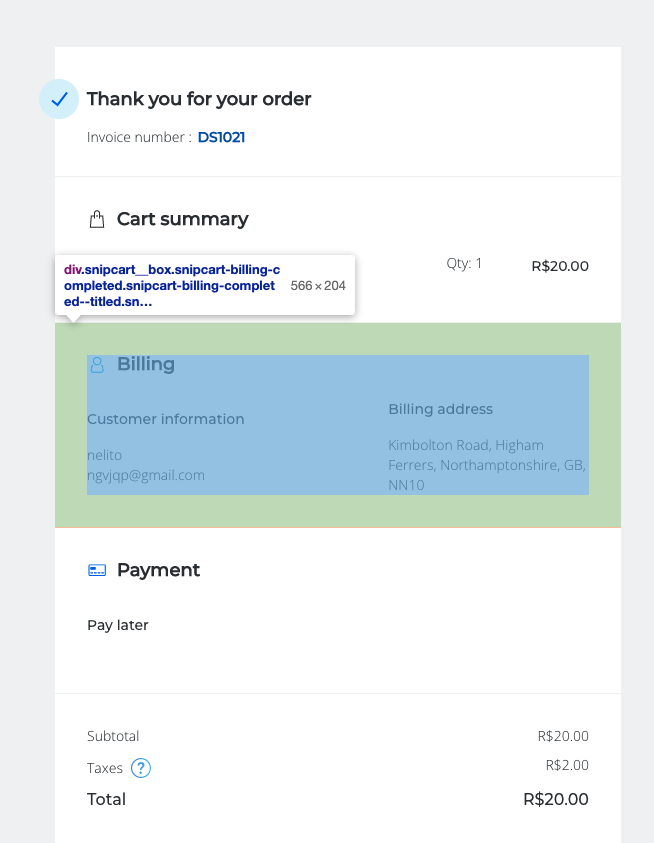
I currently am navigating users to my custom thank you page when they complete a purchase. The issue I am having is that before users makes it to my page, the default SnipCart thank you page shows up and is displayed for a few seconds before the navigation to my custom Thank You page happens. Is there a way to completely just NOT show the default SnipCart page, and make it wait until mine comes up?
This is important for 2 reasons:
-
When the customer sees that page, they might quickly think they can just close the browser/page/tab because to them it looks like the transaction is complete and they are done. They saw the order total and saw and order number and bam they close it. When in reality I still have some post purchase information to show them on my page that they need to see, like follow up information, upsells on other products, contact info in case they need support…etc…
-
I have a few purchase conversion tracking snippets on my custom Thank You page(Facebook, Pinterest, Bing Ads, Google Conversion Tracking etc…). Since that default SnipCart page comes up first and displays for a few seconds, I have noticed that sometimes the data that was supposed to be collected/tracked by the pixel is actually not recorded because the “user” has closed the tab on the default thank you page. So this causes my page to never load which is what triggers the conversion tracking, the event that my page has loaded and the user has actually landed on that page.
Is there a way around this? Can I somehow HIDE or stop the cart from showing that default page while it waits for mine to load?
The code below is what I wrote that is currently allowing my custom thank you page to load when the cart completes checkout.
<script type="text/javascript">

    document.addEventListener('snipcart.ready', function () {

        console.log('Snipcart was ready, so this console.log message displayed! (1)');

        Snipcart.events.on('cart.confirmed', (cartConfirmResponse, customerOrderResponse) => {
            console.log('Transaction completed so this console.log message displayed! (2)');
            var url = '/purchase/thank-you/order/' + cartConfirmResponse.token;
            window.location.href = url;

            console.log('Made it to the Thank You page so this console.log message displayed! (3)');

            //The users order info is passed to my controller so this info can be saved to my database.
            // I have tested removing this ajax code that saves to my database just to see if that
            // would make the default thank you page go away or not display as long but it did
           // not have any effect so we can rule this out if being a possible reason.
            $.ajax({
                type: "Post",
                url: "/Purchase/SaveOrderDetailsToMyDatabase",
                dataType: 'json',
                data: '{"Token":"' + cartConfirmResponse.token +
                    '", "InvoiceNumber":"' + cartConfirmResponse.invoiceNumber +
                    '", "email":"' + cartConfirmResponse.email +
                    '" }',

                contentType: 'application/json; charset=utf-8',
                success: function (result) {
                    console.log('Transaction db complete');
                }
            })

        });
    });

</script>